摘要:快速搭建个人知识库,非常简单。
1. 安装 在已有文件夹安装;
1.1. npm初始化 初始化配置内容:
1 2 3 4 5 6 7 8 9 10 11 12 13 14 15 16 17 18 19 20 21 22 23 24 25 26 27 28 29 30 31 32 33 34 35 36 This utility will walk you through creating a package.json file. It only covers the most common items, and tries to guess sensible defaults. See `npm help init` for definitive documentation on these fields and exactly what they do. Use `npm install <pkg>` afterwards to install a package and save it as a dependency in the package.json file. Press ^C at any time to quit. package name: (java-one) version: (1.0.0) description: One notebook of Java entry point: (index.js) test command: git repository: keywords: author: ChatGIS license: (ISC) About to write to E:\GitHubChatGIS\java-one\package.json: { "name": "java-one", "version": "1.0.0", "description": "One notebook of Java", "main": "index.js", "devDependencies": {}, "scripts": { "test": "echo \"Error: no test specified\" && exit 1" }, "author": "ChatGIS", "license": "ISC" } Is this OK? (yes) yes
1.2. 安装VitePress 1.3. 安装向导 回答几个简单问题,引导配置初始信息
1 2 3 4 5 6 7 8 9 10 11 12 13 14 15 16 17 18 19 20 21 22 23 24 ┌ Welcome to VitePress! │ ◇ Where should VitePress initialize the config? │ ./docs │ ◇ Site title: │ Java One │ ◇ Site description: │ One notebook of Java │ ◇ Theme: │ Default Theme │ ◇ Use TypeScript for config and theme files? │ No │ ◇ Add VitePress npm scripts to package.json? │ Yes │ └ Done! Now run npm run docs:dev and start writing. Tips: - Make sure to add docs/.vitepress/dist and docs/.vitepress/cache to your .gitignore file.
1.4. 增加gitignore 按照上一步的Tips,增加.gitignore,增加以下内容:
1 2 3 node_modules docs/.vitepress/dist docs/.vitepress/cache
2. 文件结构 参考官网内容
如果正在构建一个独立的 VitePress 站点,可以在当前目录 (./) 中搭建站点。但是,如果在现有项目中与其他源代码一起安装 VitePress,建议将站点搭建在嵌套目录 (例如 ./docs) 中,以便它与项目的其余部分分开。
由于是在已有项目中安装vitepress,所以按照建议将站点搭建在嵌套目录docs中。
1 2 3 4 5 6 7 8 . ├─ docs │ ├─ .vitepress │ │ └─ config.js │ ├─ api-examples.md │ ├─ markdown-examples.md │ └─ index.md └─ package.json
docs 目录作为 VitePress 站点的项目根目录
.vitepress 目录是 VitePress 配置文件、开发服务器缓存、构建输出和可选主题自定义代码的位置
.vitepress 目录之外的 Markdown 文件被视为源文件。
VitePress 使用 基于文件的路由:每个 .md 文件将在相同的路径被编译成为 .html 文件。例如,index.md 将会被编译成 index.html,可以在生成的 VitePress 站点的根路径 / 进行访问。
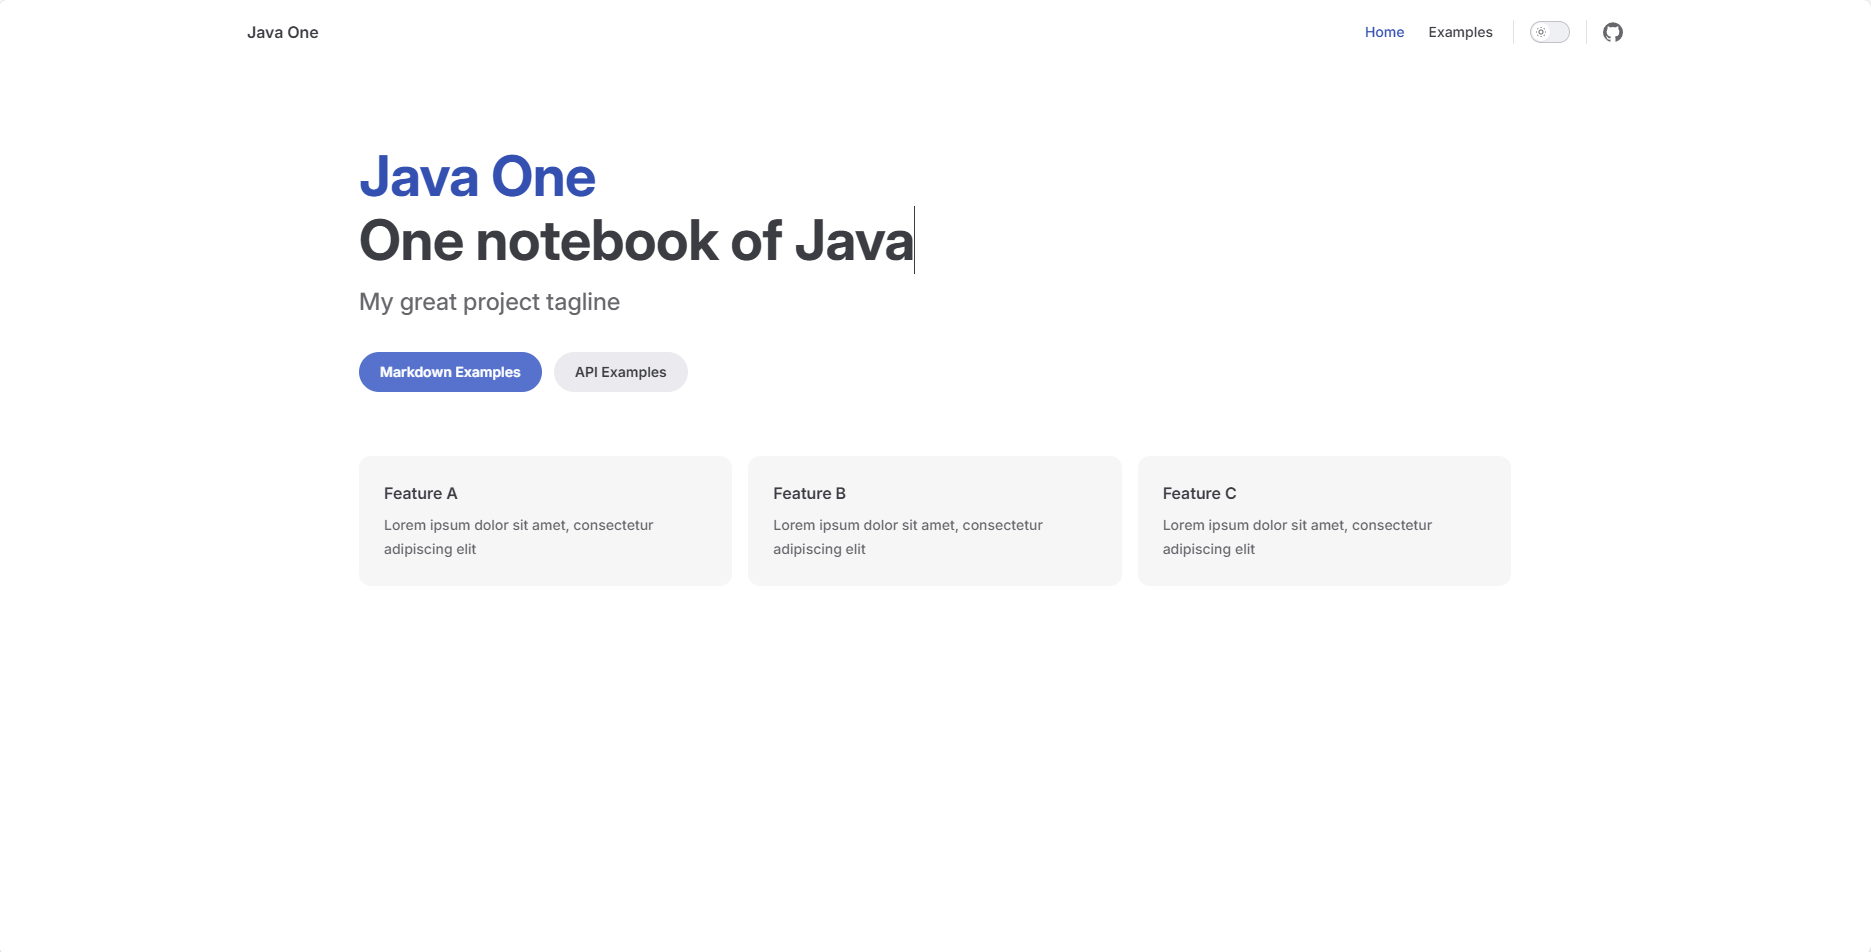
3. 启动运行 初始页面:
4. 站点配置 参考官网 config.mjs中设置;
1 2 3 4 5 6 7 8 9 10 11 12 13 14 15 16 17 18 19 20 21 22 23 24 25 26 27 28 import { defineConfig } from 'vitepress' // https://vitepress.dev/reference/site-config export default defineConfig({ title: "Java One", description: "One notebook of Java", themeConfig: { // https://vitepress.dev/reference/default-theme-config nav: [ { text: '主页', link: '/' }, { text: 'Java入门', link: '/java/java0101' } ], sidebar: [ { text: 'Java入门教程', items: [ { text: '你好, Java', link: '/java/java0101' }, { text: 'Java基本语法', link: '/java/java0201' }, ] } ], socialLinks: [ { icon: 'github', link: 'https://github.com/ChatGIS/java-one' } ] } })
5. 布局 有 3 种布局选项 doc、page 和 home。默认是home,也就是主页的样式,如步骤3截图。index.md中。
由于,hero、features是home布局的属性,所以当前doc布局就不需要这些属性了。
如果只设置上面代码,进入站点的默认主页是空白的,看上去体验不好,所以可以增加一段文字描述。---内部即可。
1 2 3 4 5 --- layout: doc --- ## Java One Java One (Java集、Java一本书),用于个人整理Java相关的学习内容,包括文章以及源码。
6. 部署到github 参考官网
6.1. 配置base
设定 public 根目录https://mywebsite.com/blog/,则需要在 VitePress 配置中将 base 选项设置为 ‘/blog/‘。
6.2. 配置部署工作流 在项目根目录创建 .github/workflows 目录,在新建目录中创建一个名为 deploy.yml 的文件。
1 2 3 4 5 6 7 8 9 10 11 12 13 14 15 16 17 18 19 20 21 22 23 24 25 26 27 28 29 30 31 32 33 34 35 36 37 38 39 40 41 42 43 44 45 46 47 48 49 50 51 52 53 54 55 56 57 58 59 60 61 62 63 64 65 66 # 构建 VitePress 站点并将其部署到 GitHub Pages 的示例工作流程 # name: Publish Action on: # 在针对 `main` 分支的推送上运行。如果你 # 使用 `master` 分支作为默认分支,请将其更改为 `master` # push: # branches: [main] # 允许你从 Actions 选项卡手动运行此工作流程 workflow_dispatch: # 设置 GITHUB_TOKEN 的权限,以允许部署到 GitHub Pages permissions: contents: read pages: write id-token: write # 只允许同时进行一次部署,跳过正在运行和最新队列之间的运行队列 # 但是,不要取消正在进行的运行,因为我们希望允许这些生产部署完成 concurrency: group: pages cancel-in-progress: false jobs: # 构建工作 build: runs-on: ubuntu-latest steps: - name: Checkout uses: actions/checkout@v4 with: fetch-depth: 0 # 如果未启用 lastUpdated,则不需要 # - uses: pnpm/action-setup@v3 # 如果使用 pnpm,请取消此区域注释 # with: # version: 9 # - uses: oven-sh/setup-bun@v1 # 如果使用 Bun,请取消注释 - name: Setup Node uses: actions/setup-node@v4 with: node-version: 20 cache: npm # 或 pnpm / yarn - name: Setup Pages uses: actions/configure-pages@v4 - name: Install dependencies run: npm ci # 或 pnpm install / yarn install / bun install - name: Build with VitePress run: npm run docs:build # 或 pnpm docs:build / yarn docs:build / bun run docs:build - name: Upload artifact uses: actions/upload-pages-artifact@v3 with: path: docs/.vitepress/dist # 部署工作 deploy: environment: name: github-pages url: ${{ steps.deployment.outputs.page_url }} needs: build runs-on: ubuntu-latest name: Deploy steps: - name: Deploy to GitHub Pages id: deployment uses: actions/deploy-pages@v4
个人不喜欢每次提交自动部署,尽管很方便。所以在该文件中设置为手动部署,提交该文件后,在github的action页面手动启动部署即可访问,https://chatgis.space/java-one/
6.3. 修改GitHub配置 点选仓库Settings –> pages –> Build and deployment ,修改source选项,默认是 Deploy from a branch ,修改为Github Actions。否则在action自动执行pages build and deployment
修改完成后,回到Actions界面,删除之前的 pages-build-deployment workflows即可,后面就不会再出现了。这是因为github默认对应的静态应用程序是 jekyll。文章